

Whether you use a free or a premium theme, this guide shows you step by step how to install a WordPress theme.
1. Download the theme #
If you bought or downloaded a theme, you will usually have a .zip file.
2. Make sure WordPress is up to date #
Update WordPress fully before installing a theme. Always run the latest version; otherwise your whole site is exposed to security threats.
3. Install the theme from WordPress or via FTP #
There are two ways to install a theme: directly from the WordPress dashboard, or via FTP.
Install the theme from the WordPress dashboard #
Log in to your WordPress site and go to Appearance, then Themes, then Add New.
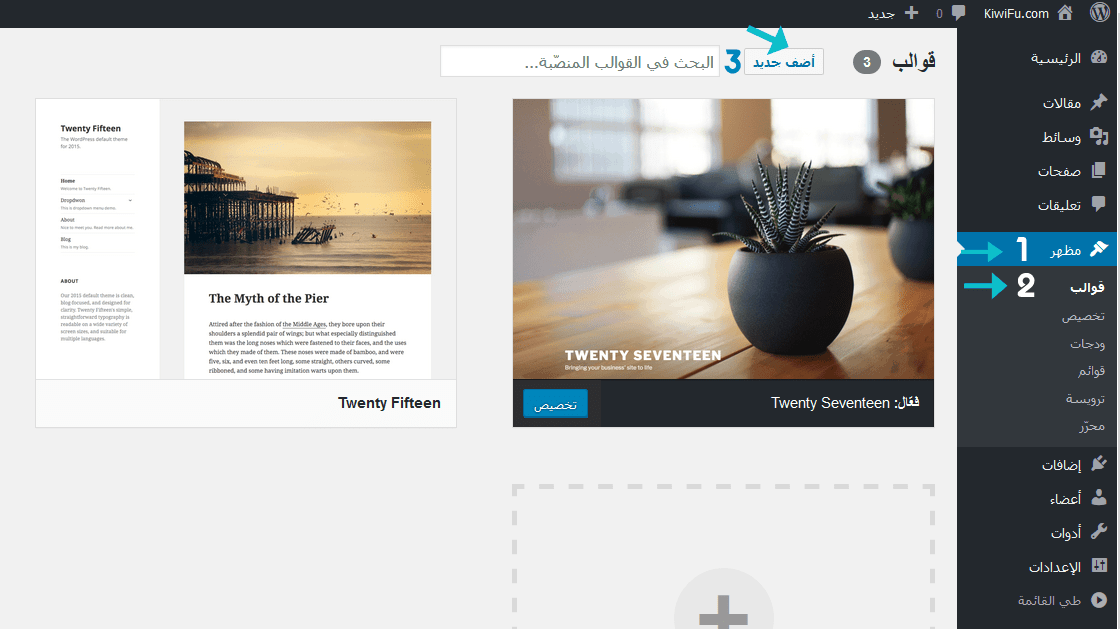
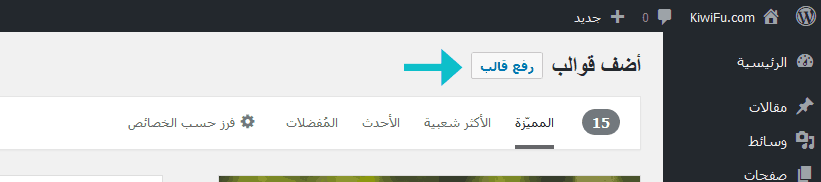
On the next page click Upload Theme; the theme upload box appears.
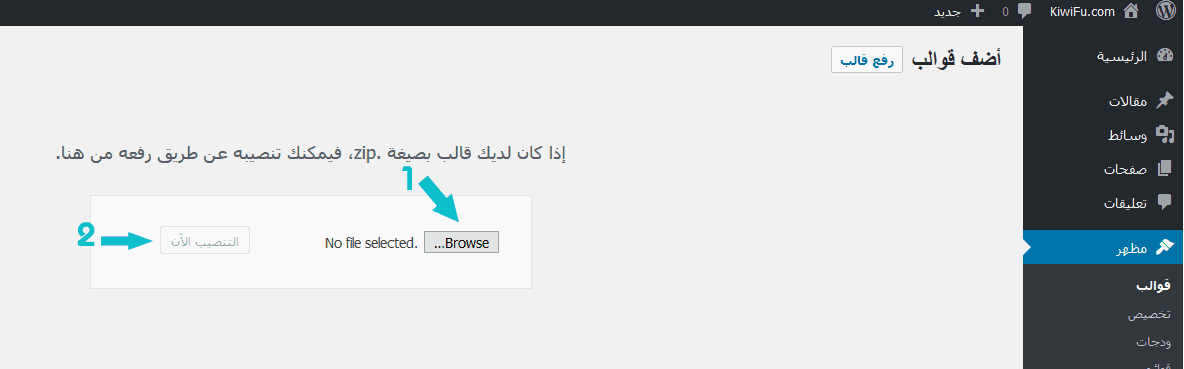
Click Browse and select the theme .zip file you downloaded, then click Install Now. Installation may take a minute or two, depending on the theme size and your internet speed.
When the installation finishes, click Activate to activate the theme.
Install the theme via FTP #
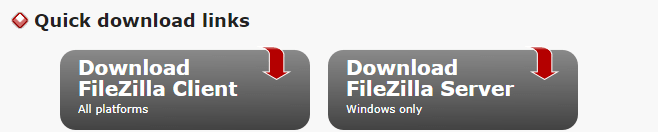
First you need an FTP program on your computer. FTP is a protocol for transferring files from your computer to your website’s folder on the server. Good free options are FileZilla for Windows and Mac, and Fetch for Mac.
Your hosting FTP account: you need three things from your hosting account: the FTP server address, a username and a password. See how to upload files via FTP.
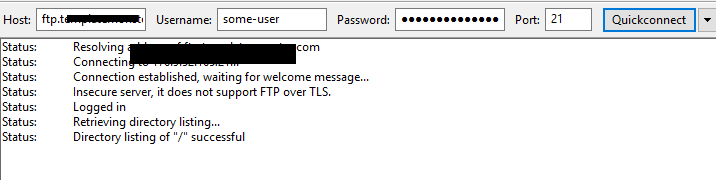
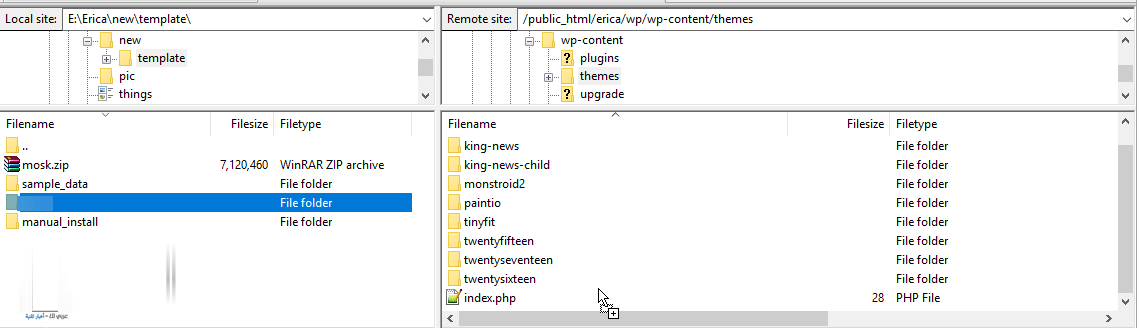
Upload the theme: connect to your server, go to the wp-content/themes folder and upload the unzipped theme folder there. Upload the whole folder, not its files one by one.
Activate the theme: in the WordPress dashboard go to Appearance, then Themes, and click Activate on your new theme.
Related service: Hyyat Host WordPress hosting is optimized for WordPress, from $1.93/month with free SSL and free migration.