

This guide shows how to install Windows Server on your cloud server from the Hyyat Host client area.
Installation steps #
1. Log in to the client area. See how to log in to the client area.

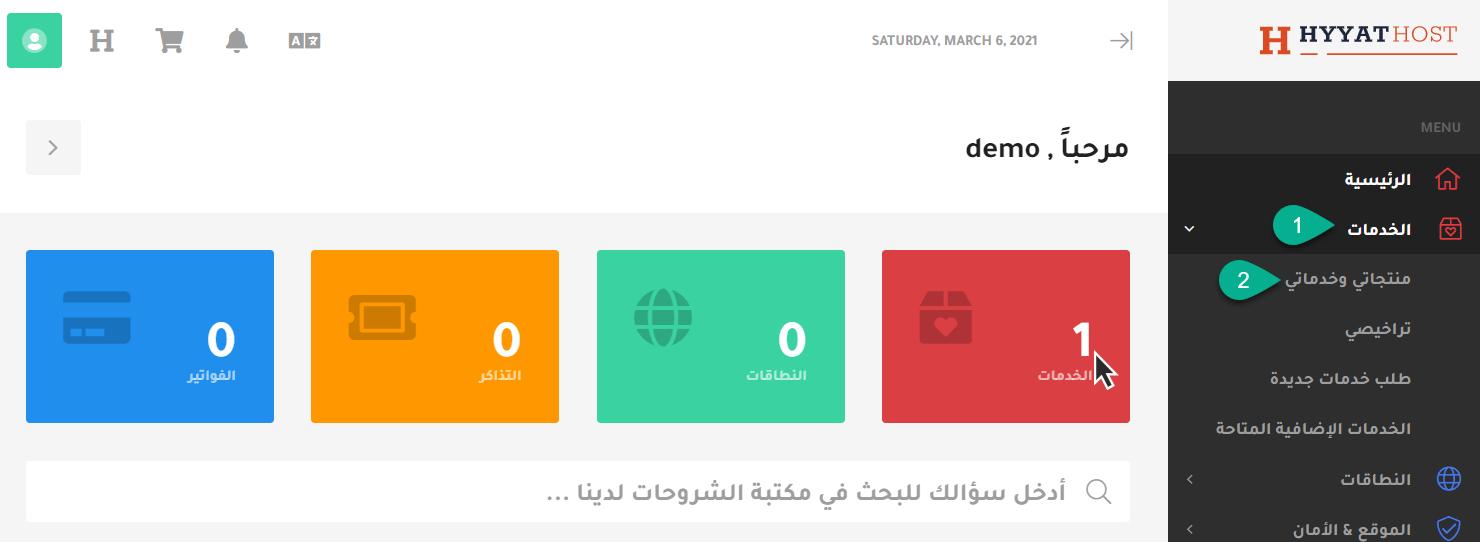
2. Click Services, then My Products & Services.
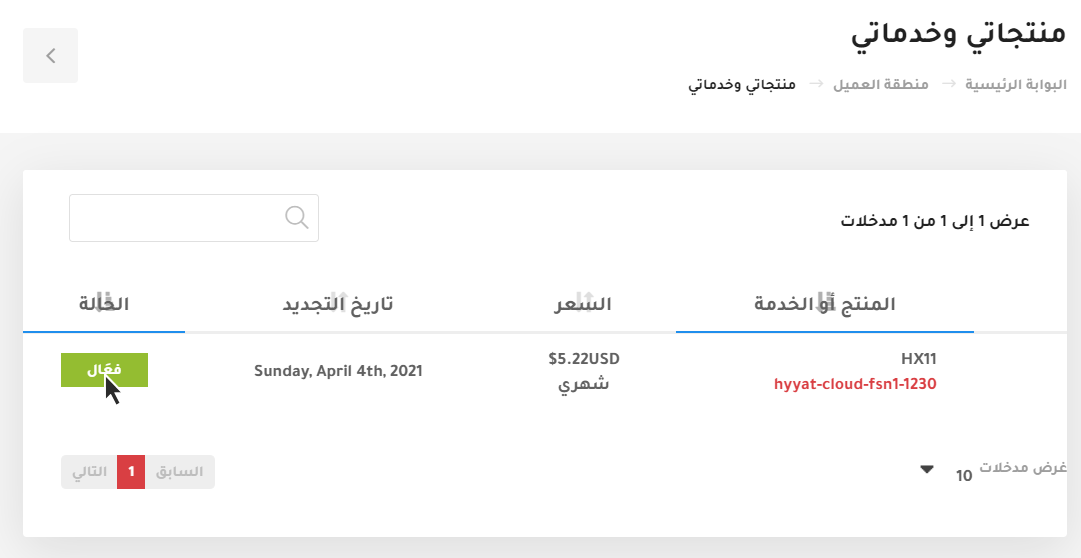
3. Your services appear. Choose the server you want to manage and click Active.
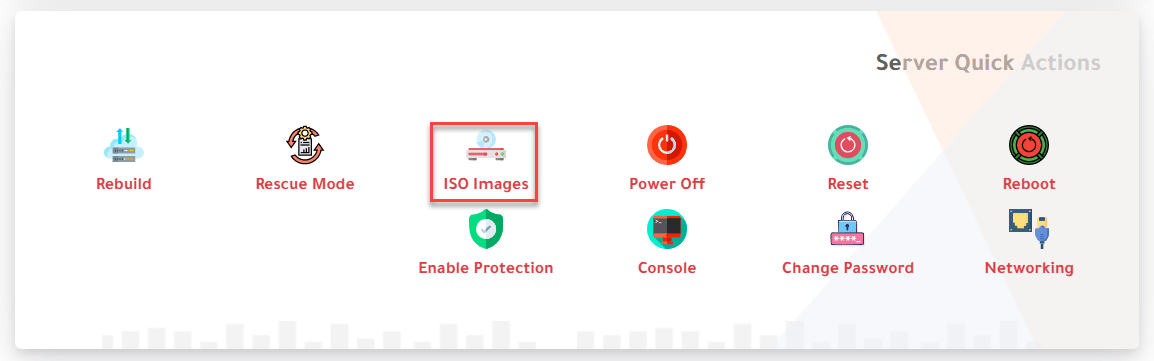
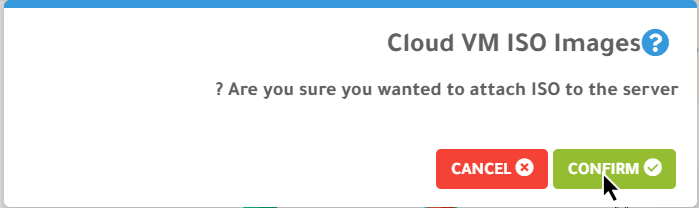
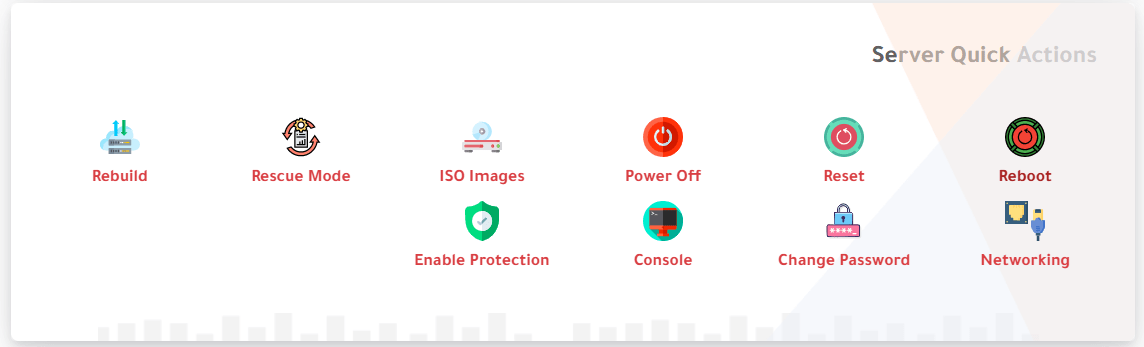
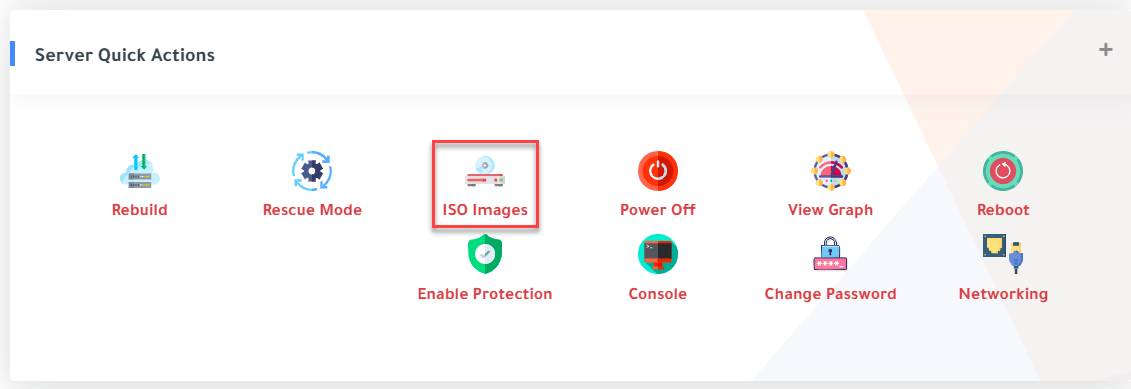
4. Scroll down to Server Quick Actions and choose ISO Images. A confirmation message appears; click Confirm.
The message reads: “Are you sure you wanted to attach ISO to the server?”
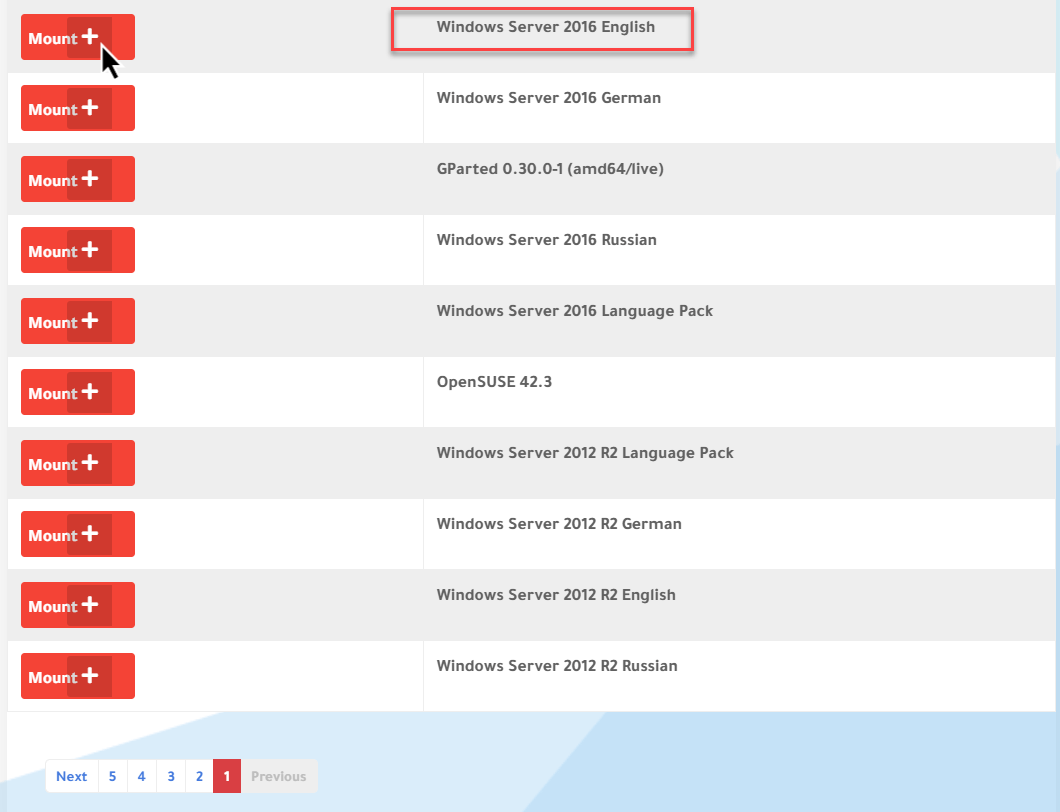
5. All available ISO images appear. Choose Windows Server 2016 English (or the version you need) and click Mount next to it.
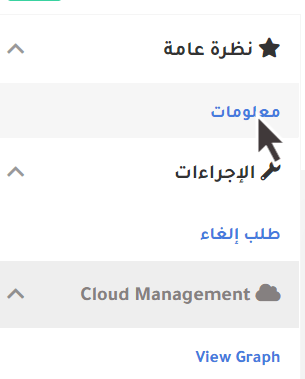
6. Go to Information in the menu at the top left.
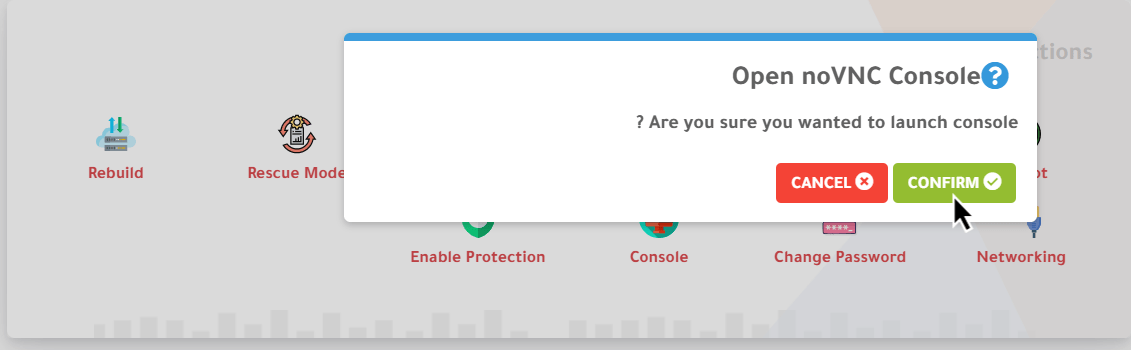
7. In Server Quick Actions choose Console and click Confirm. The console window opens, and you will follow the installation from it.
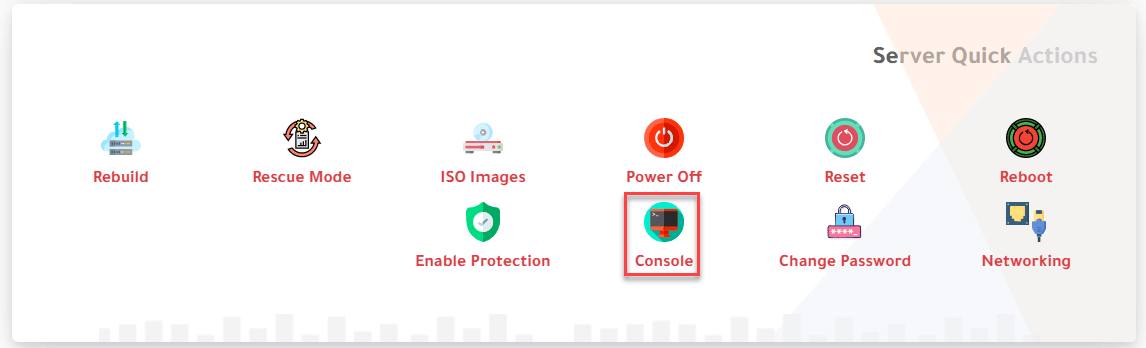
8. Click Reboot in Server Quick Actions, then Confirm, so the server boots from the ISO.
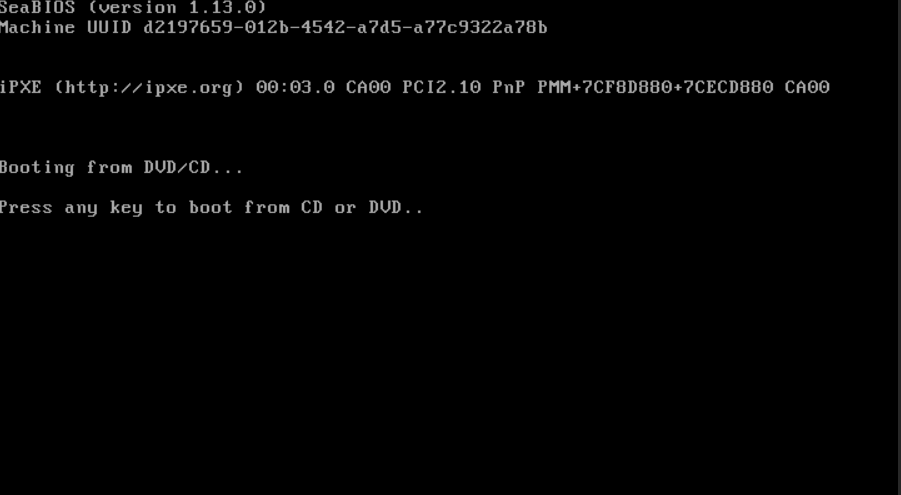
9. Go back to the console. When the ISO boots, press Enter to start the installer.
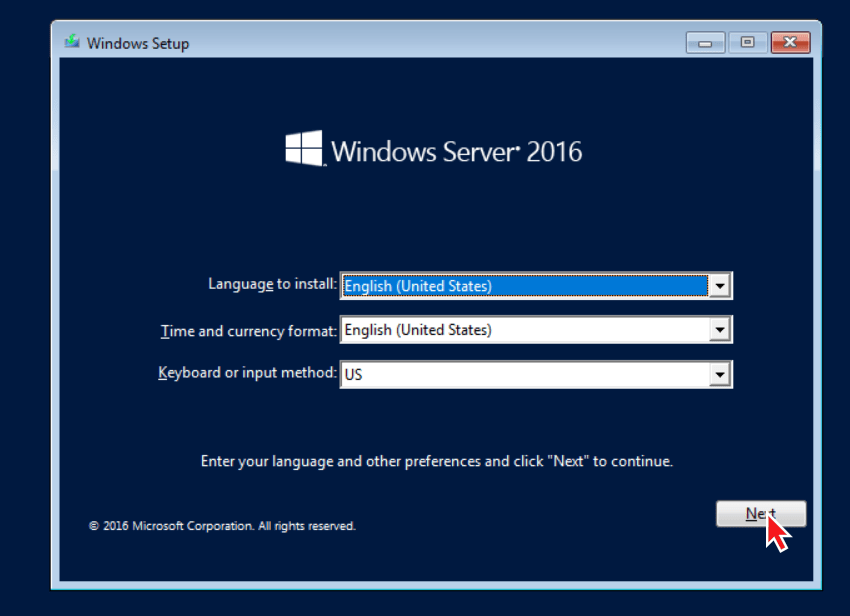
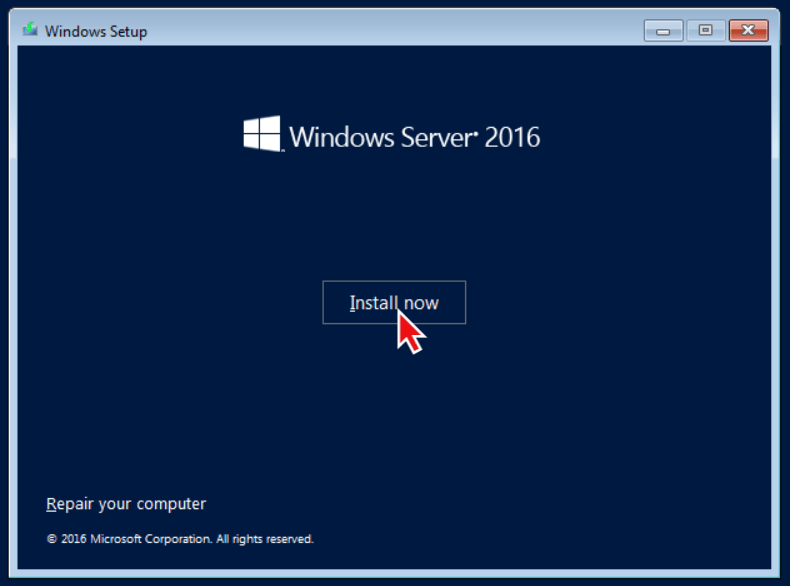
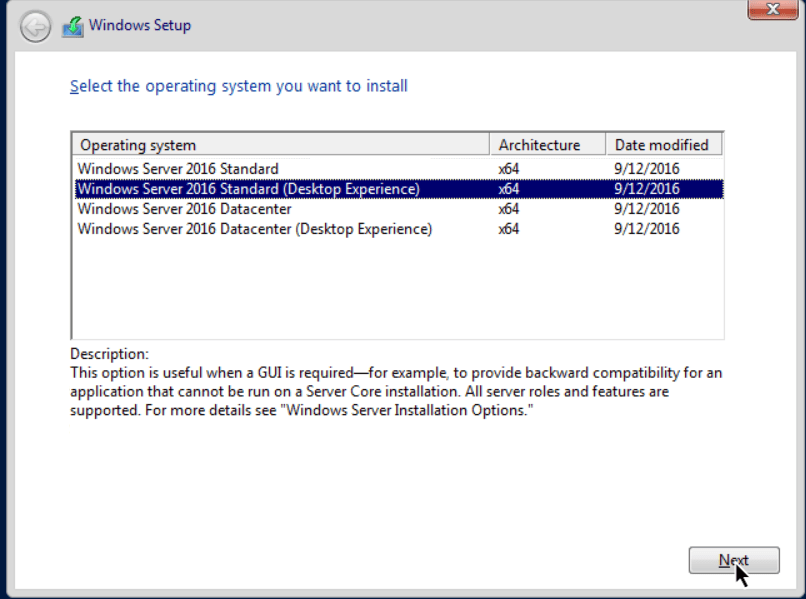
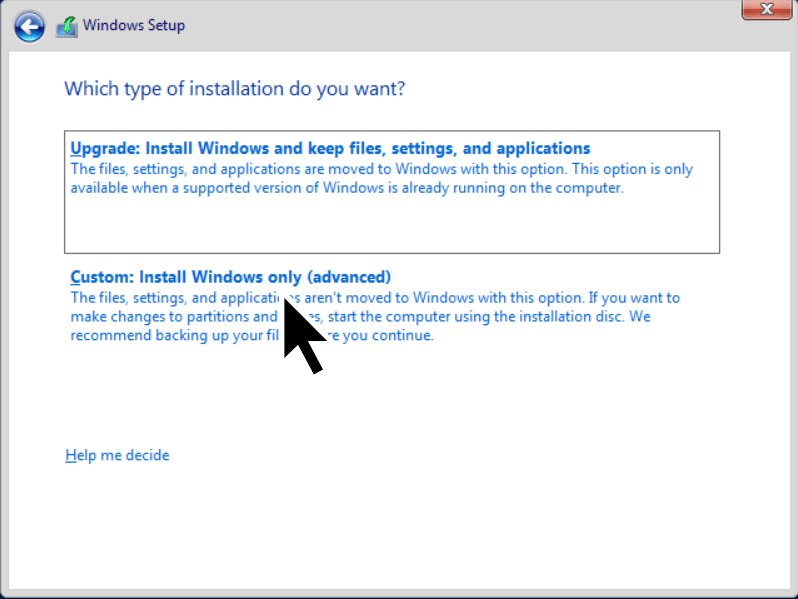
10. The Windows setup screen loads. Click Next, then Install now, choose the Windows edition and click Next, then choose Custom: Install Windows only (advanced).
11. Sometimes no hard disk appears on the disk selection screen.
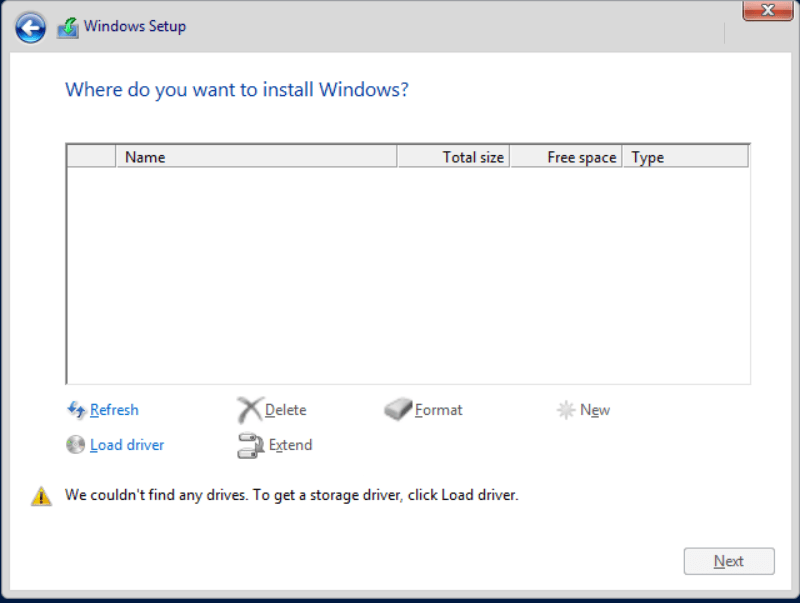
To fix this, go back to the client area, open Server Quick Actions, then ISO Images, find the virtio-win ISO (for example virtio-win-0.1.185) and click Mount.
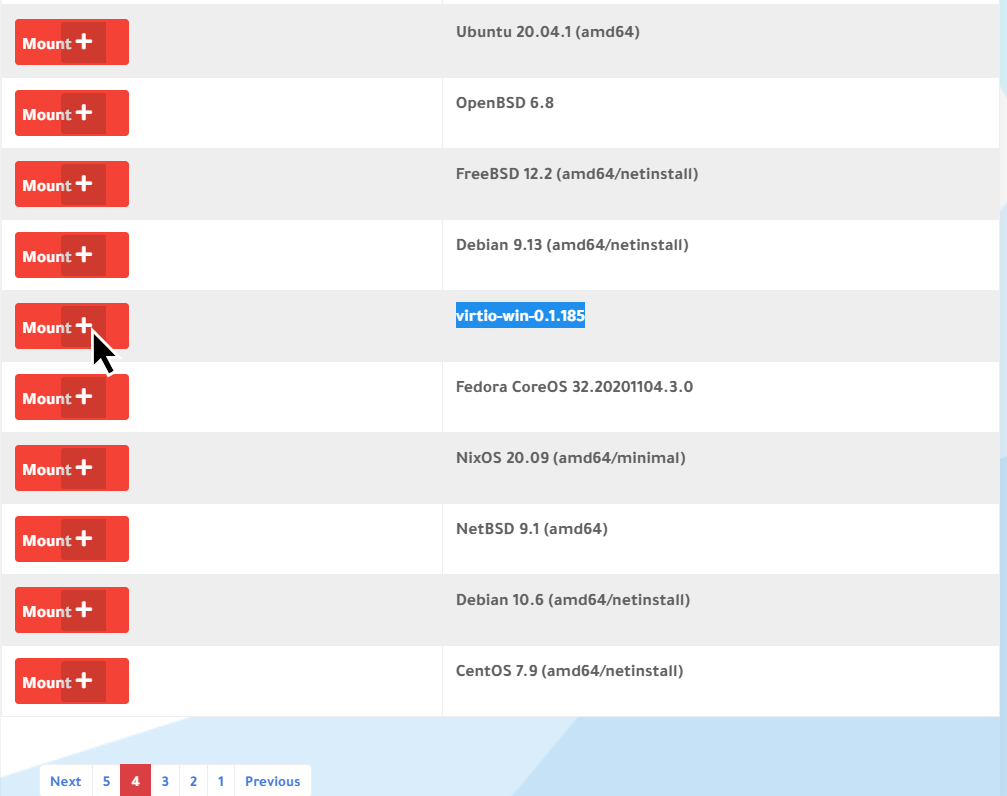
12. Back in the console, click Load driver and follow the screenshots to load the disk driver.
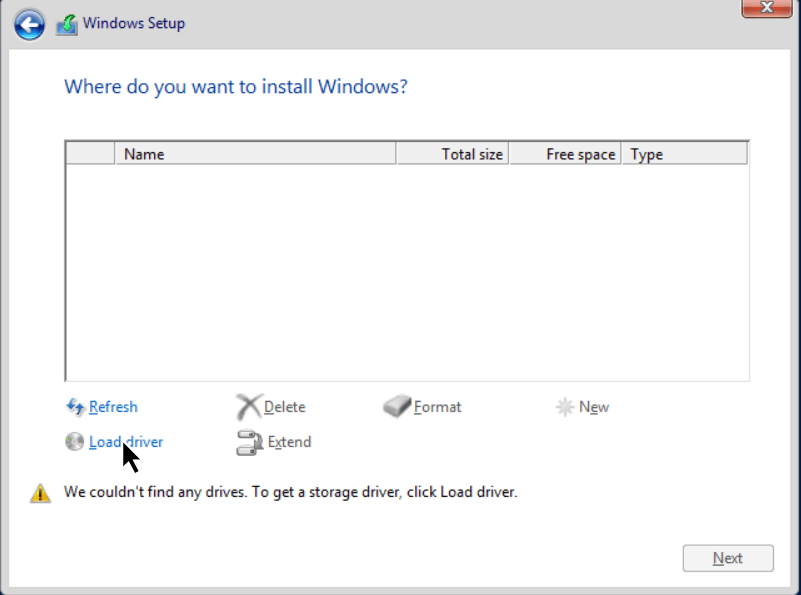
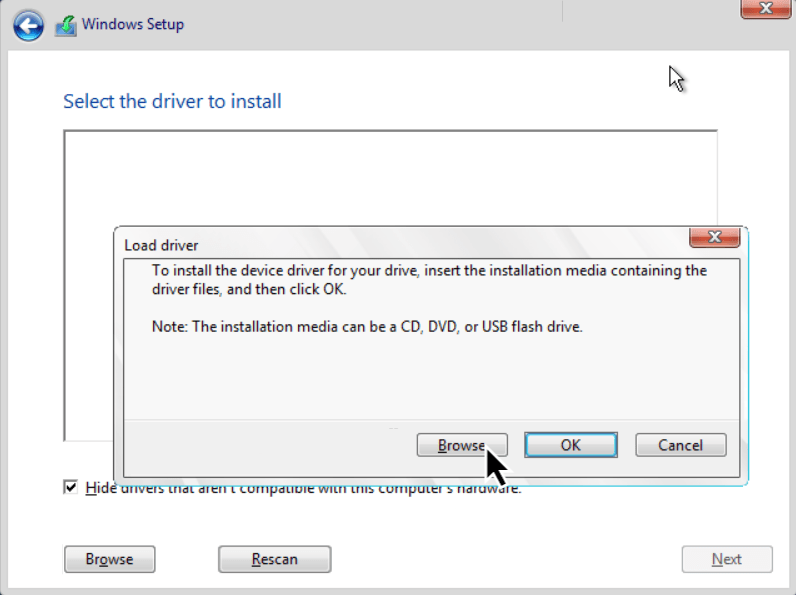
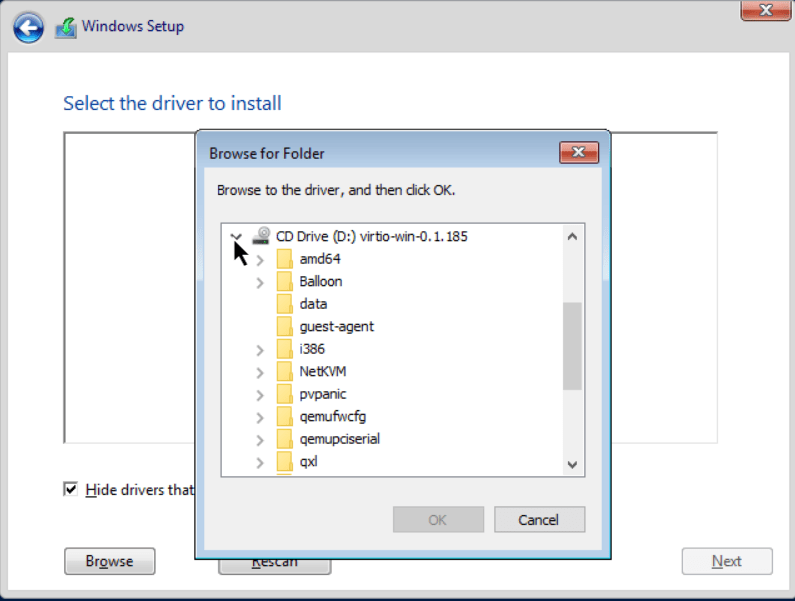
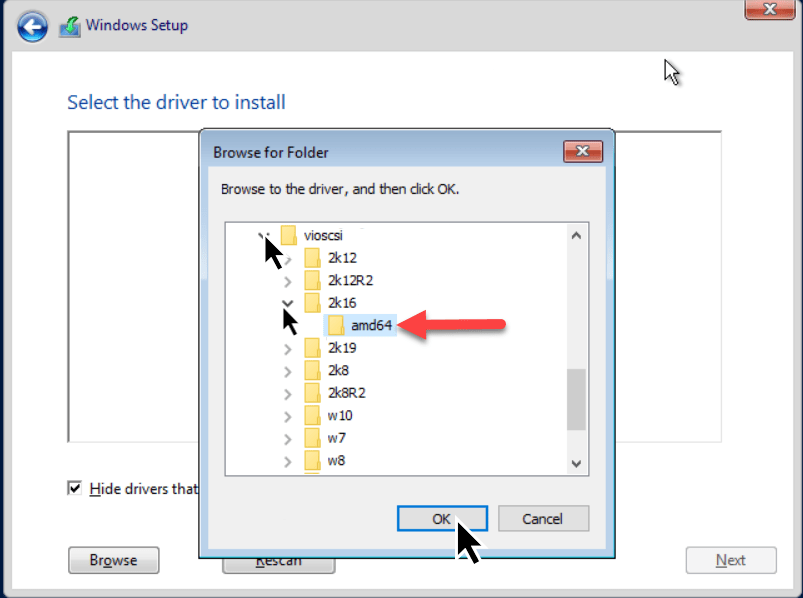
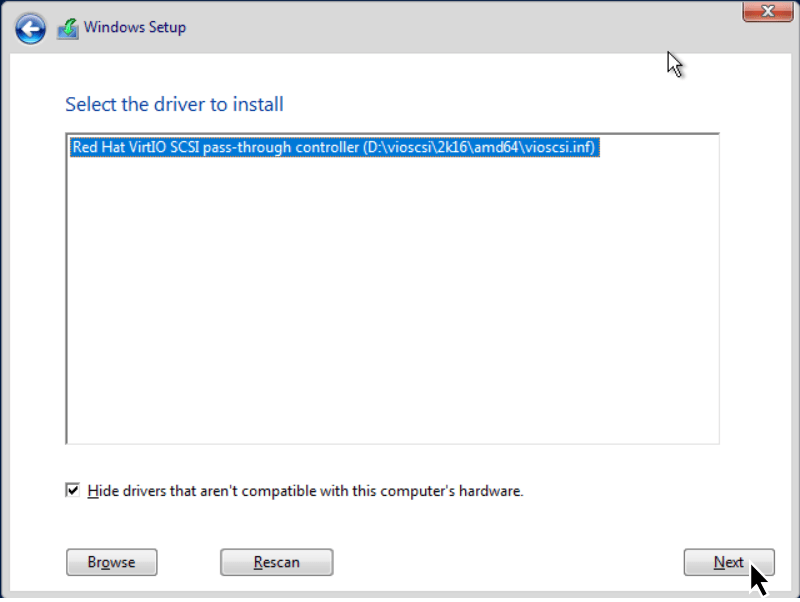
13. The disks now appear. You will see two disks; choose disk number one and follow the screenshots.
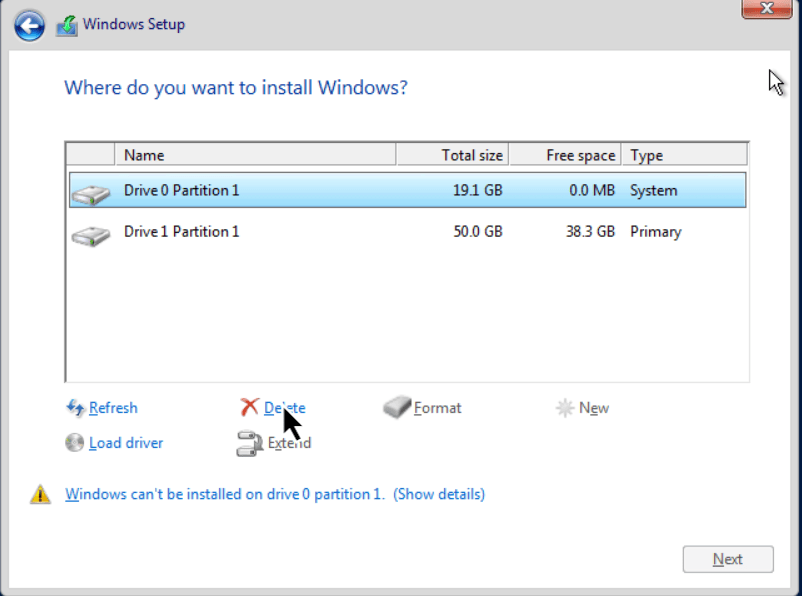
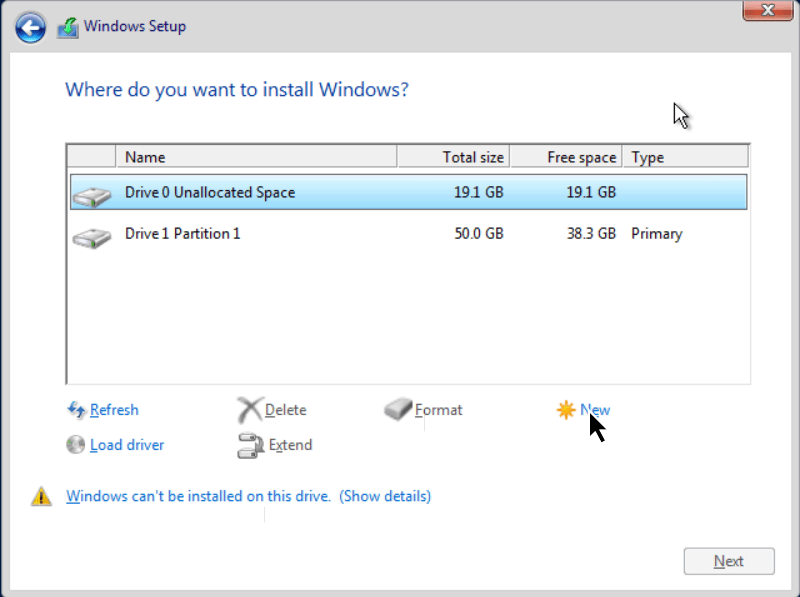
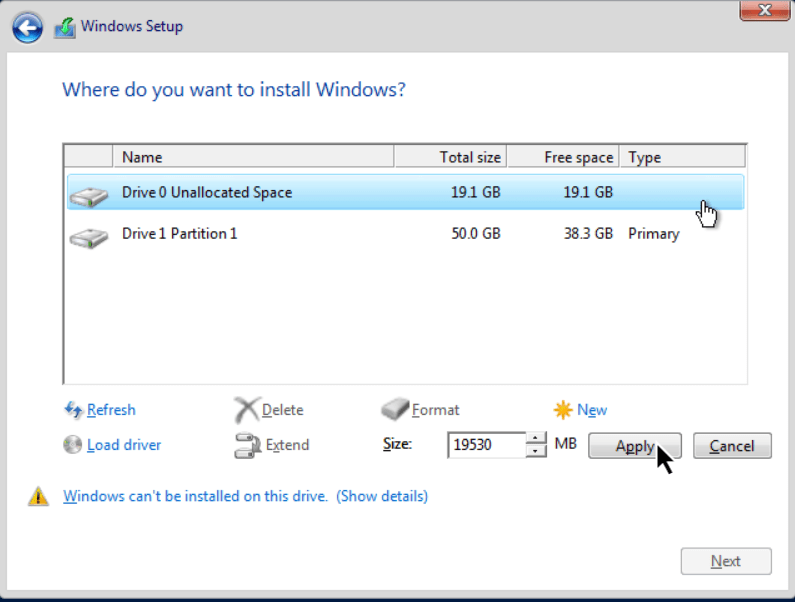
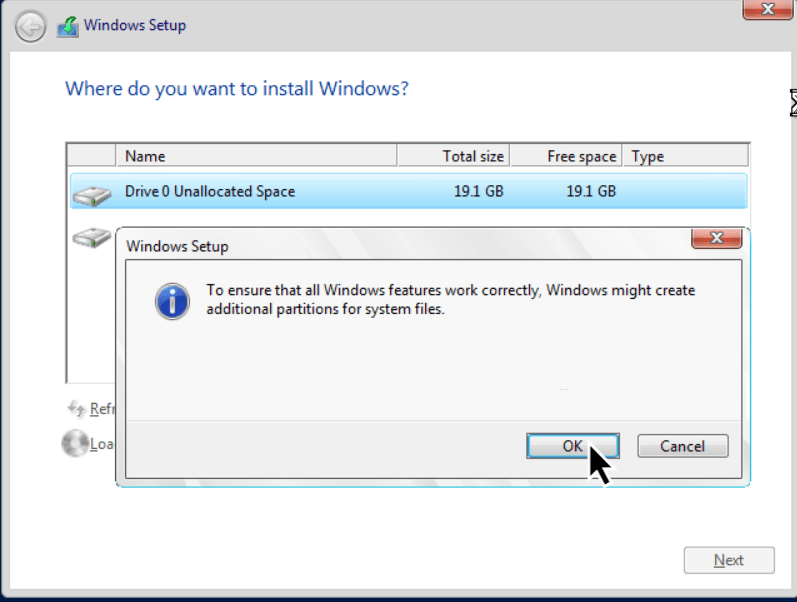
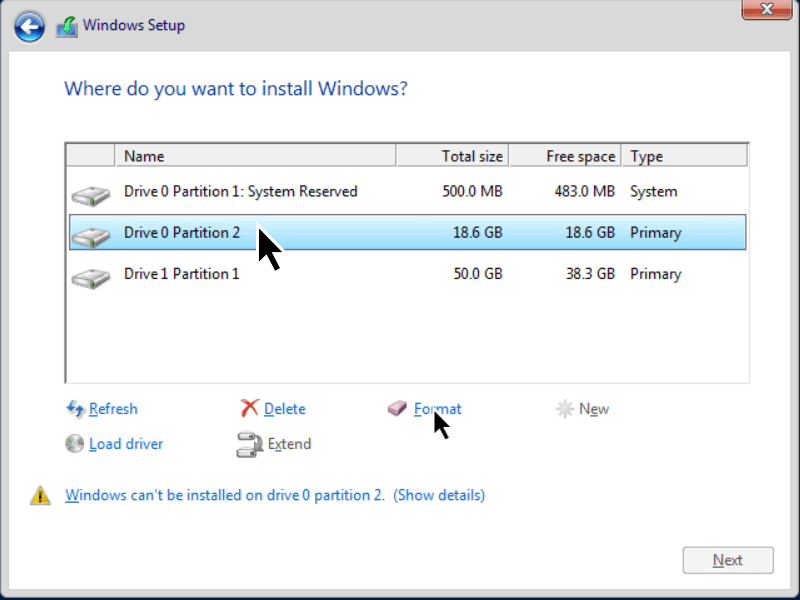
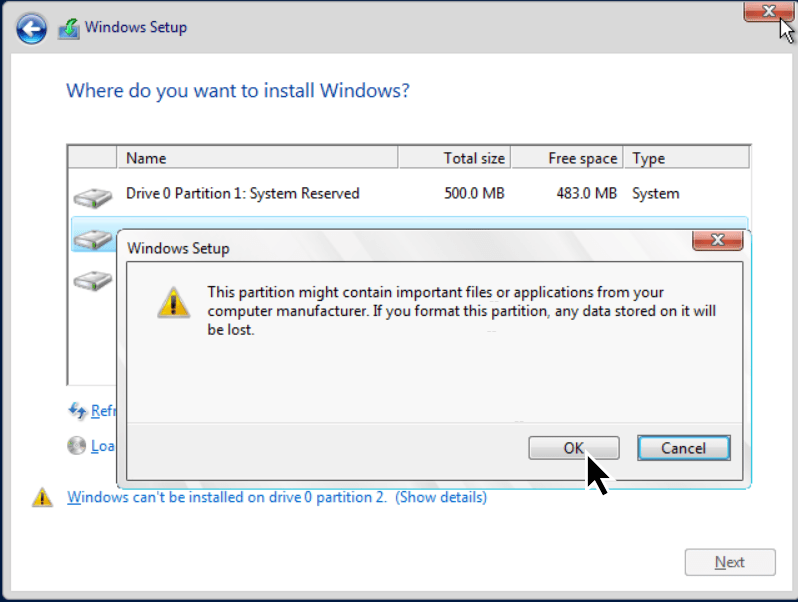
14. Go back to Server Quick Actions, then ISO Images, and mount the Windows Server ISO again.
15. Return to the console to continue the installation.
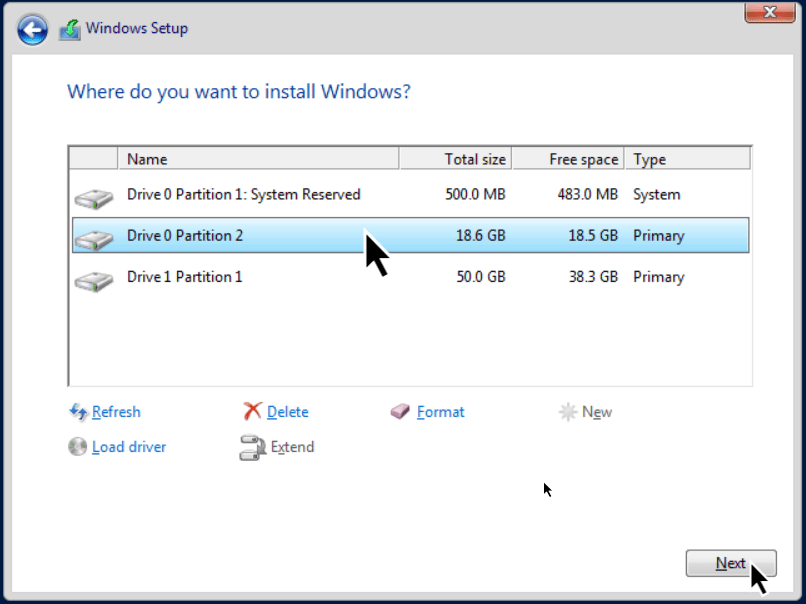
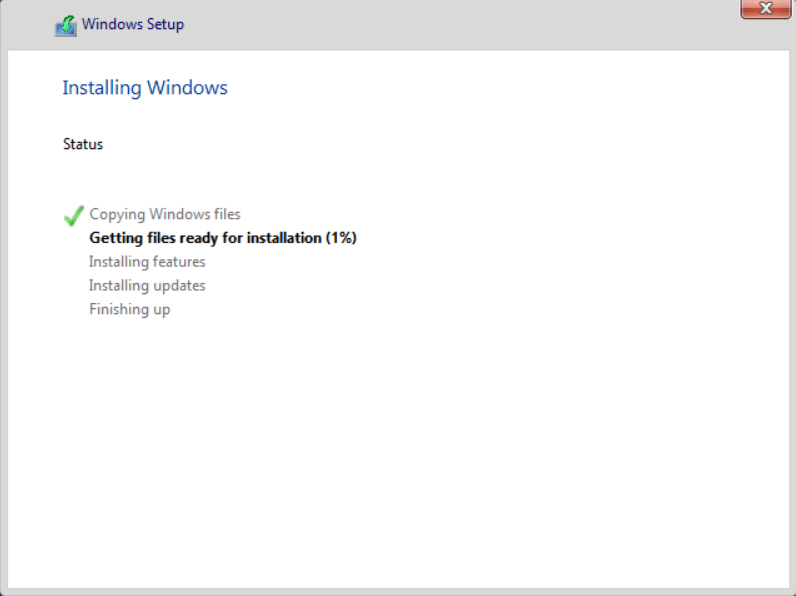
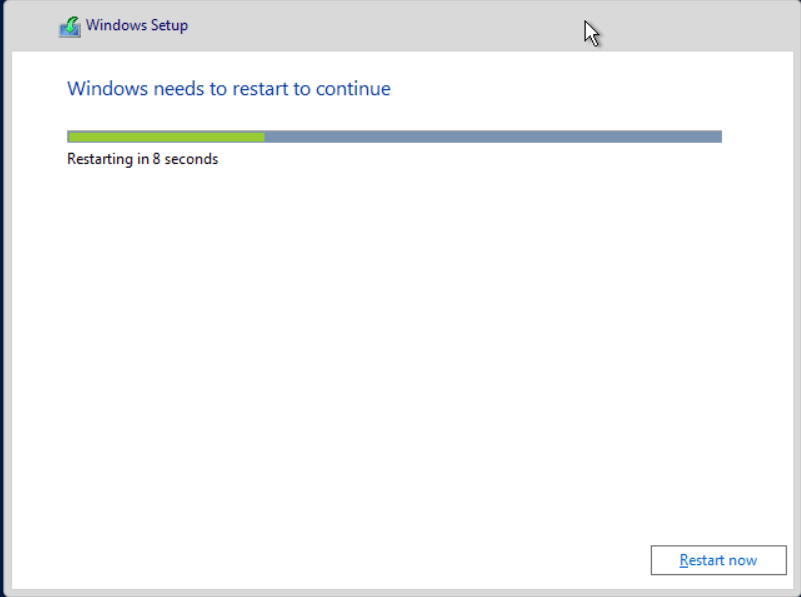
16. Set the Administrator password.
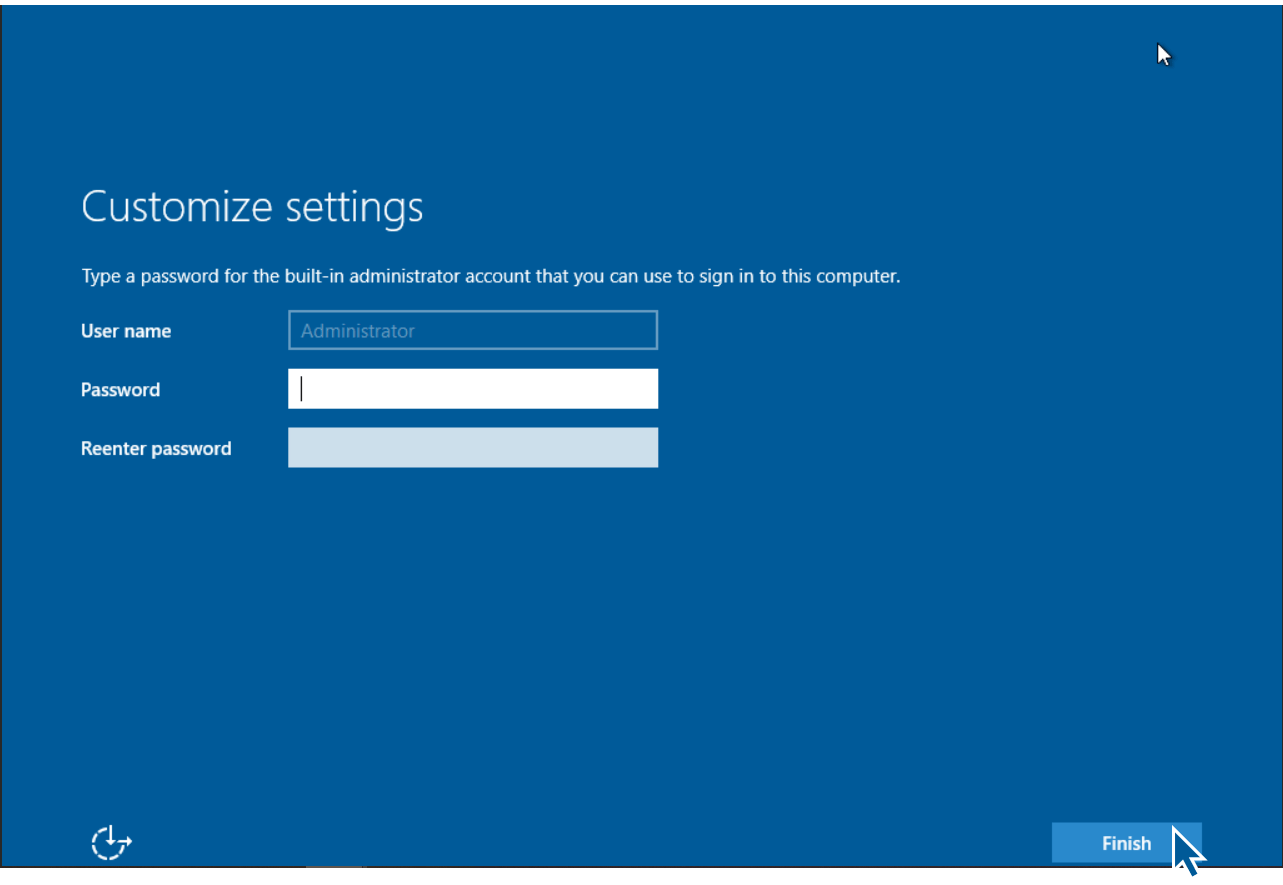
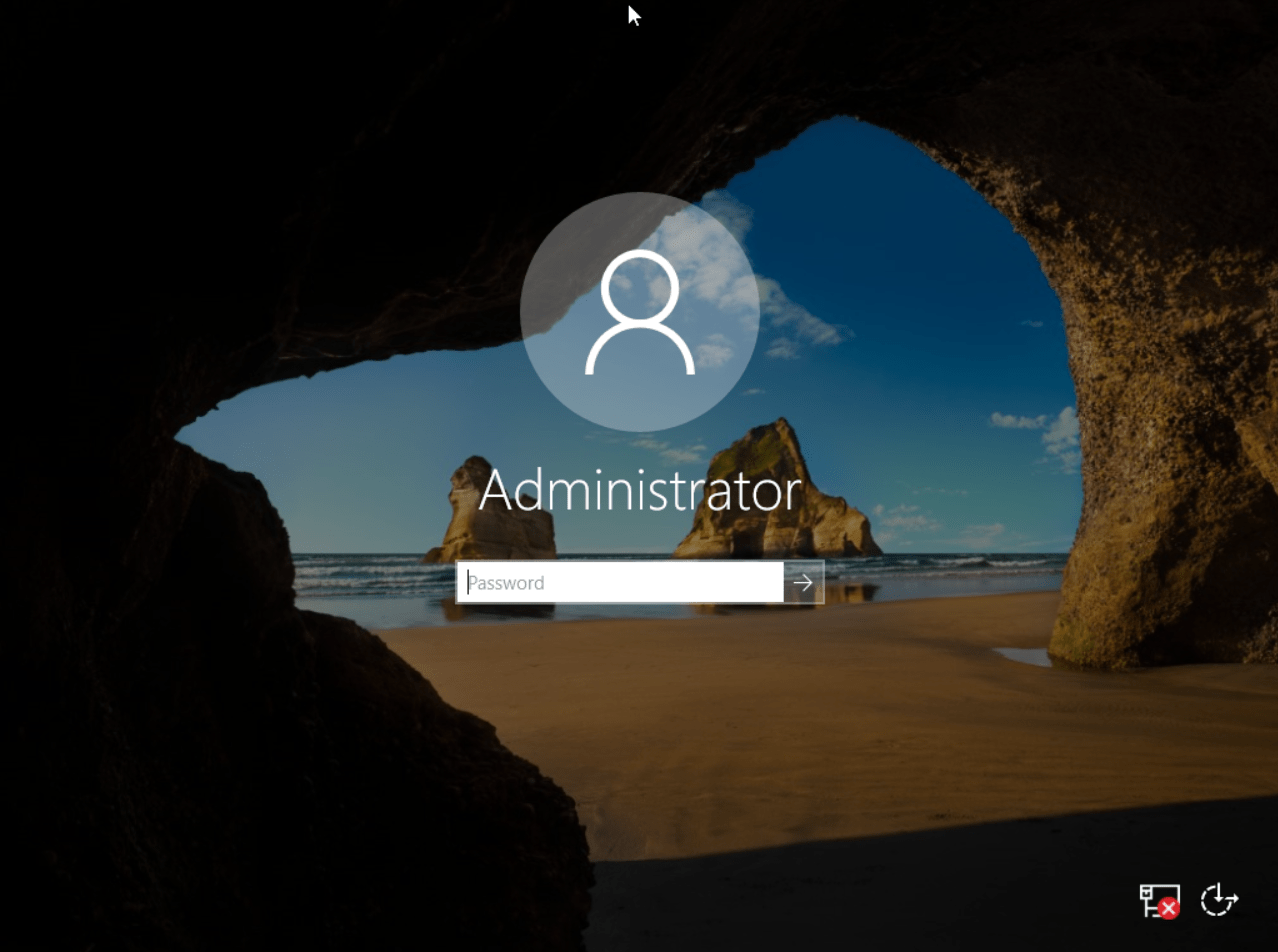
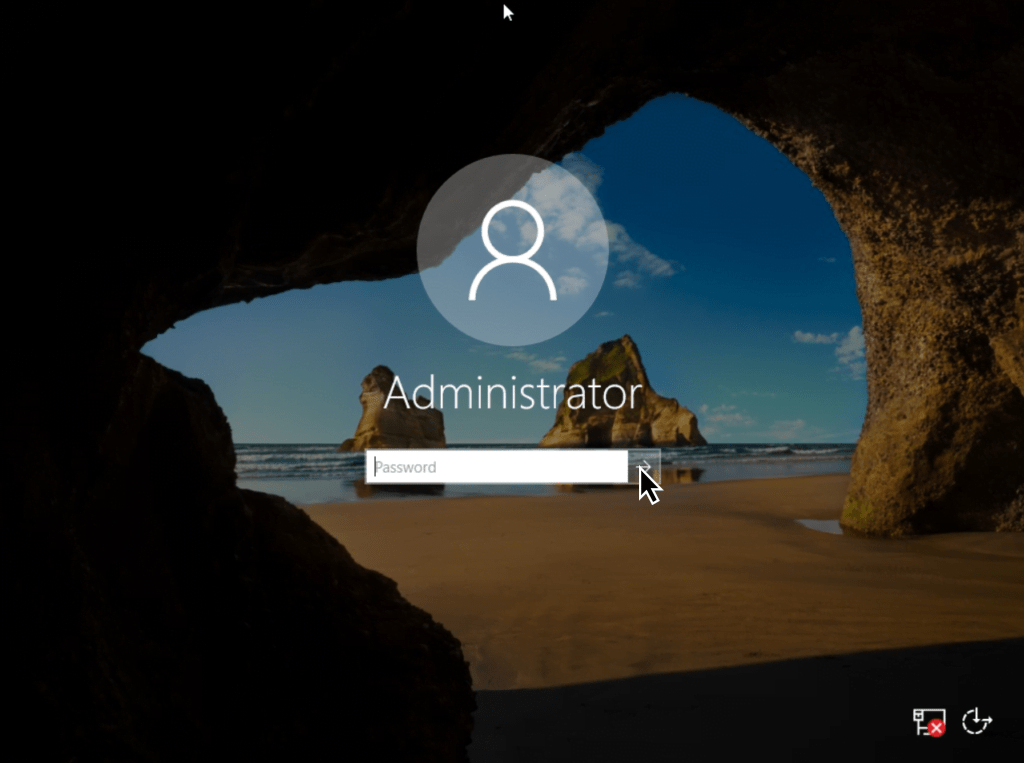
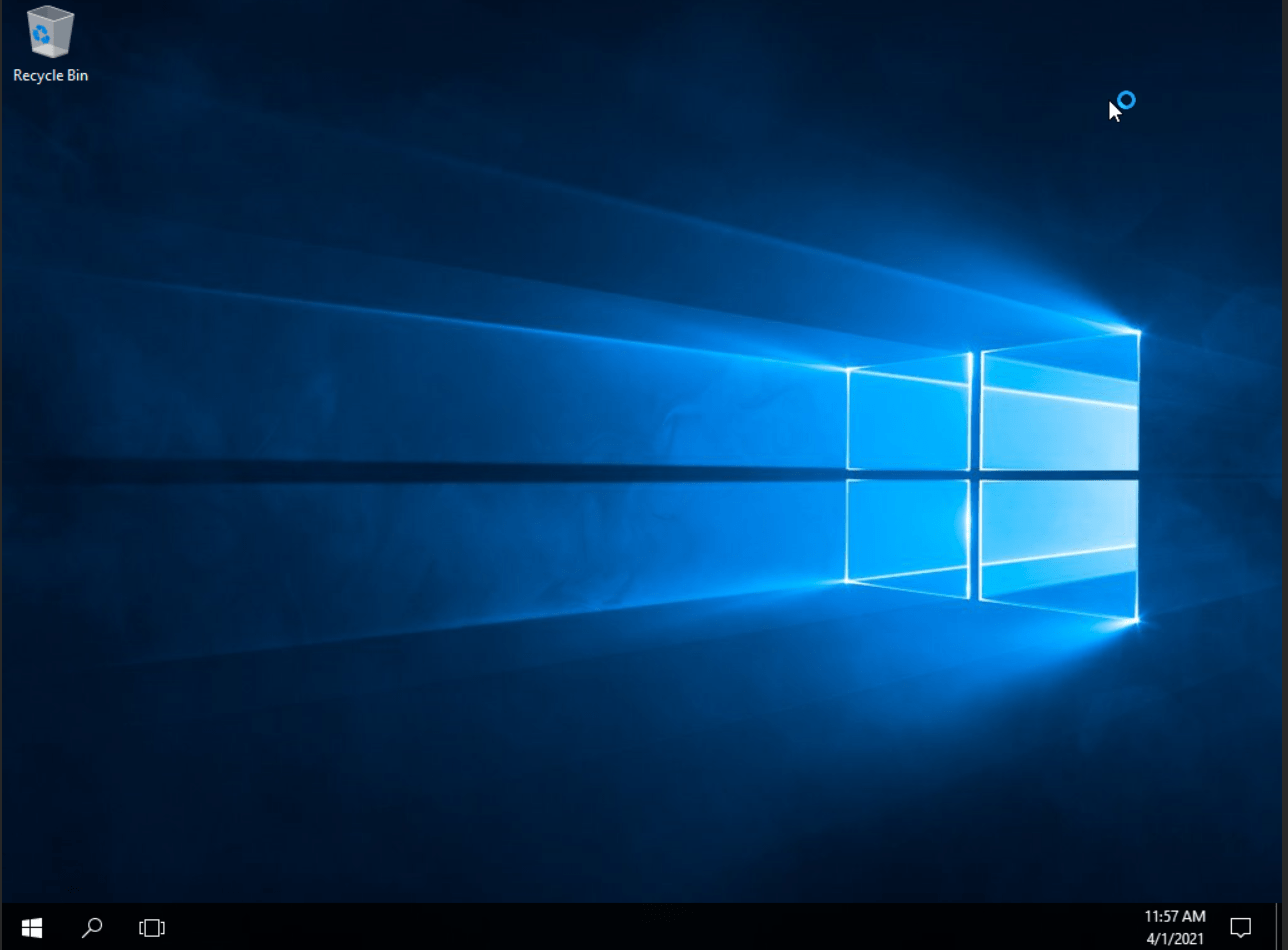
17. Windows Server is now installed and ready to use.
Related: what is Windows hosting? and what are cloud servers?
Related service: Hyyat Host cloud servers with full root access and 24/7 support.