

In short: Open cPanel → Software → Cloudflare, click Create your free account (or sign in), enter your domain and click Scan DNS records, keep the default settings, choose the Free plan and continue. Cloudflare then shows the nameservers to use for your domain.
Steps to activate Cloudflare #
- Log in to cPanel.
- In the Software section, click Cloudflare.

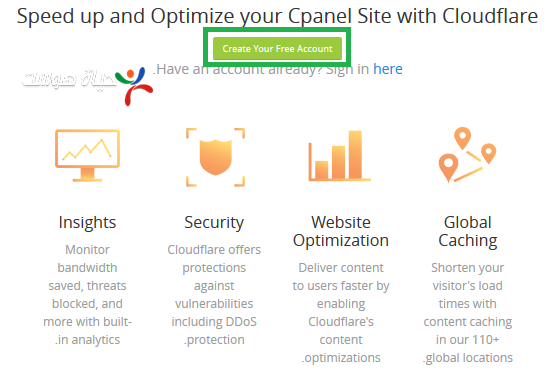
- Click Create your free account. If you already have one, click Sign in here and log in with your email and password.

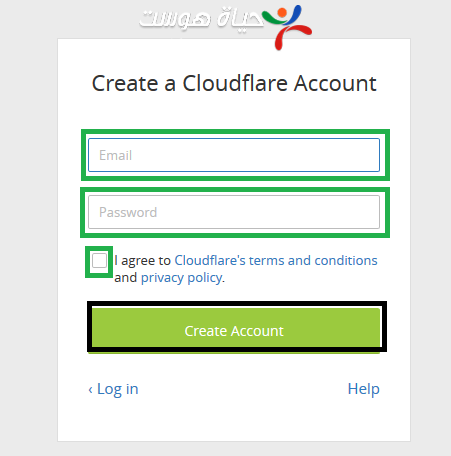
- Enter the email and password you want to register with, accept the terms and click Create account.
- Enter your domain name and click Scan DNS records.
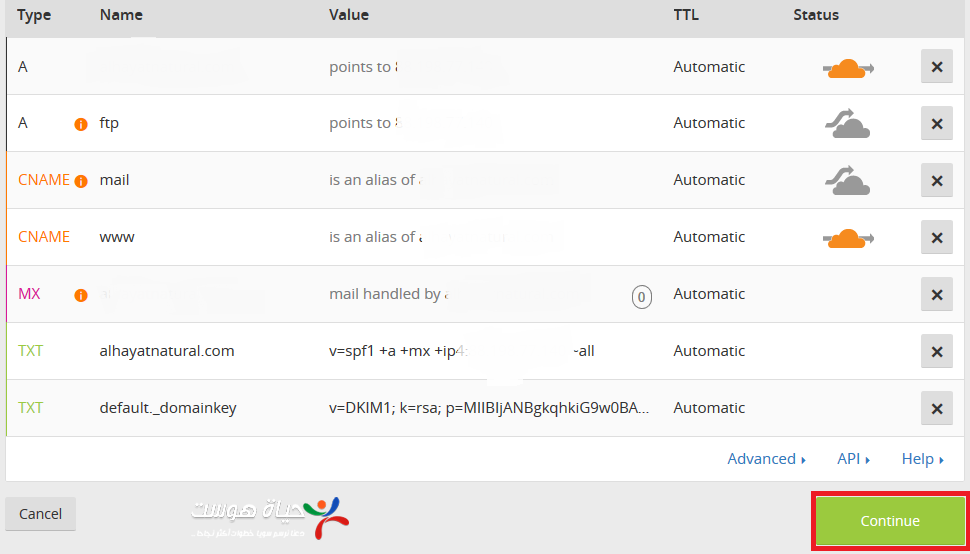
- Wait for the scan to finish, then click Continue.
- Review the DNS records; keep the defaults and click Continue.
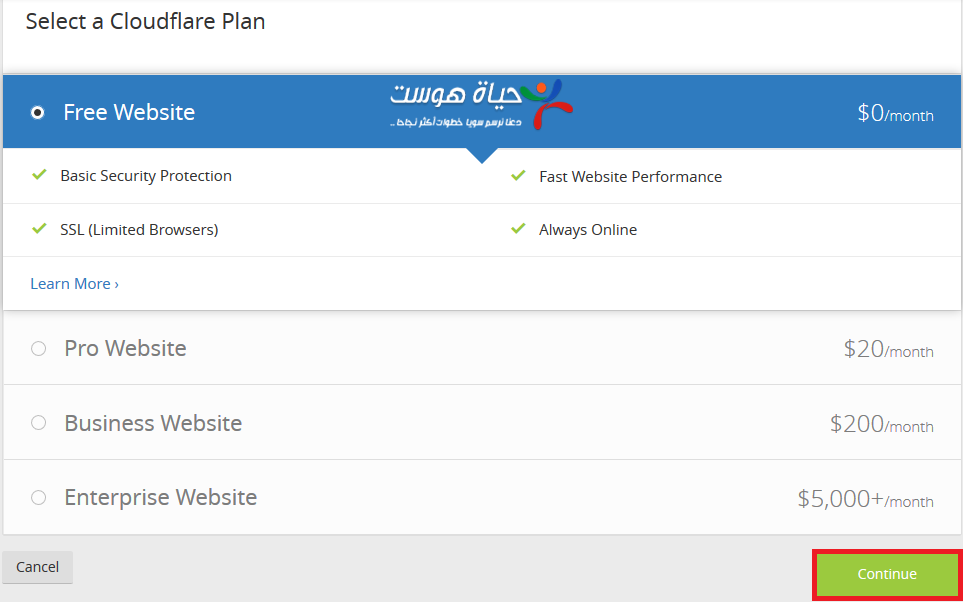
- Choose your plan. In this guide we choose Free, then click Continue.
- Cloudflare shows the DNS/nameserver details for your domain. Click Continue to finish.


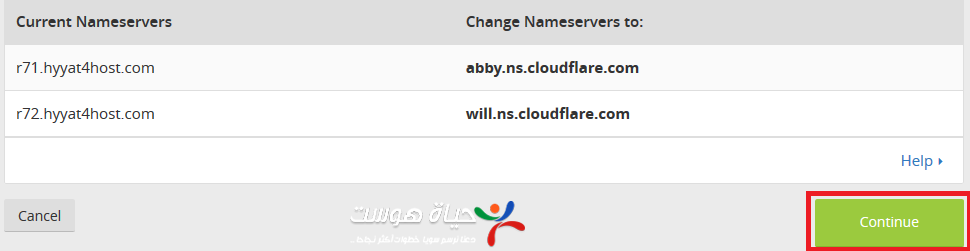
Cloudflare is now activated for your website. If Cloudflare asks you to change your nameservers, update them at your registrar (see how to change your domain nameservers).
Tip: you can also add your site directly at dash.cloudflare.com with Add a site; the steps are the same.
Related tutorials #
Related service: shared hosting plans from Hyyat Host, with 24/7 support.