

cPanel provides an installation script, so you only need to download it and run it. It is best to install cPanel on a fresh server to avoid installation errors.
1. Run the installer #
Connect to your server via SSH as root and run this single command:
cd /home && curl -o latest -L https://securedownloads.cpanel.net/latest && sh latest
The command changes to the /home directory, downloads the latest version of cPanel and runs the installer.
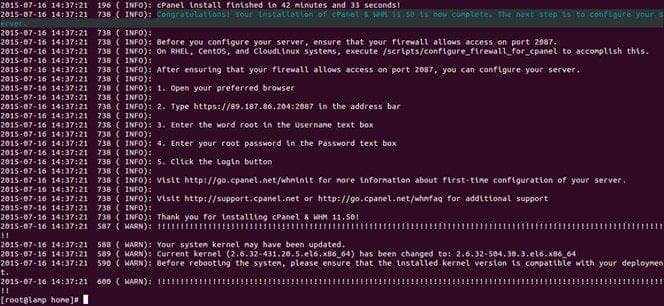
Installation takes about 20 to 45 minutes, depending on your server and connection speed.
2. Log in to WHM #
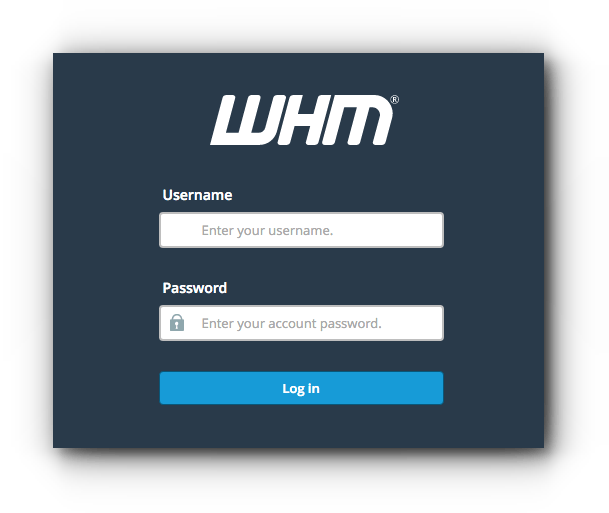
When the installation finishes, open WHM in your browser at https://your-server-ip:2087 (or http://your-server-ip:2086), replacing your-server-ip with your server’s IP address. Log in with the root username and password.
3. Complete the setup wizard #
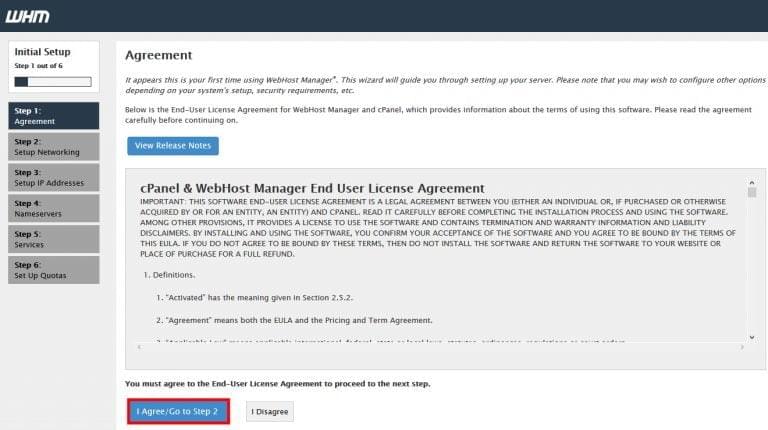
The first page after logging in is the initial setup. It shows the license agreement; accept it to continue. Depending on your cPanel version, some of the following steps may be combined or look different.
Networking setup: enter a contact email address to receive important server notifications.
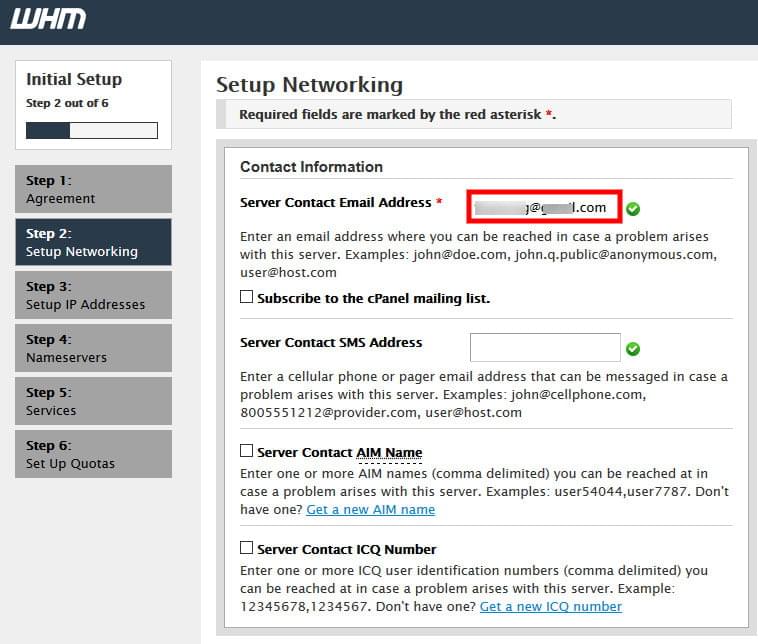
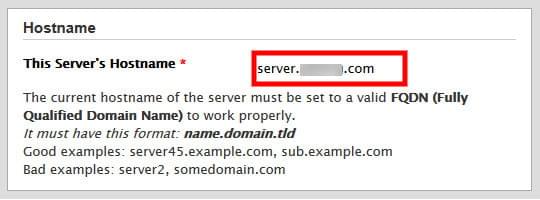
On the same page you are asked for the server hostname. If you do not need to change it, leave it as it is.
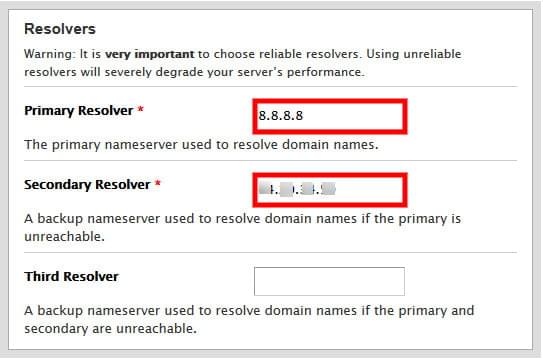
Then enter your server’s DNS resolvers. cPanel usually detects them automatically, or you can use public resolvers such as Google DNS.
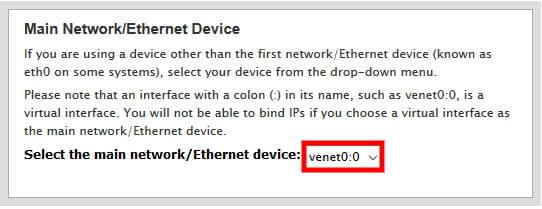
Choose the main network interface. The IP address on this interface becomes your server’s main IP. Click Save & Go to Step 3.
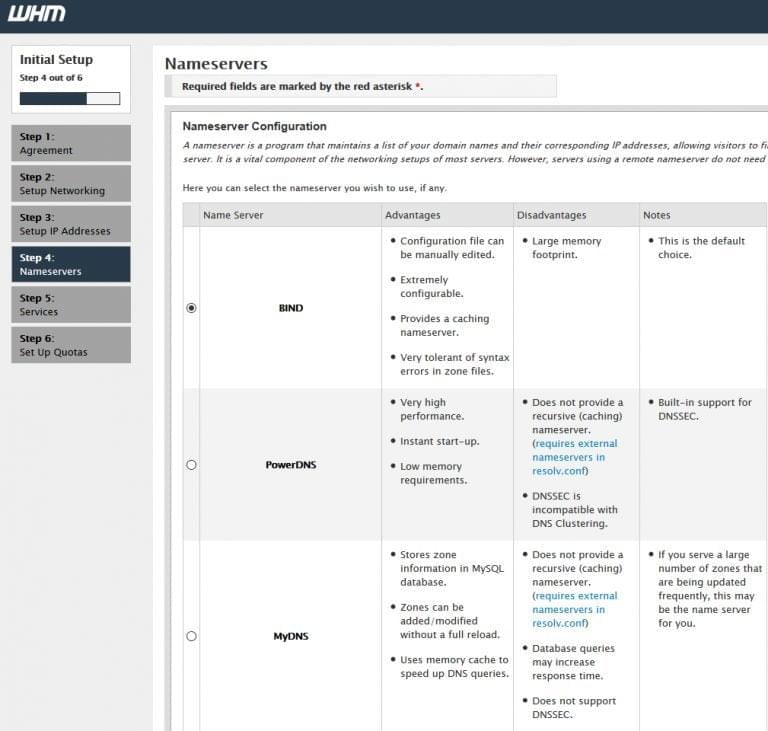
Nameserver: choose the nameserver software. The recommended option is BIND (newer versions use PowerDNS by default). Click Save & Go to Step 4.
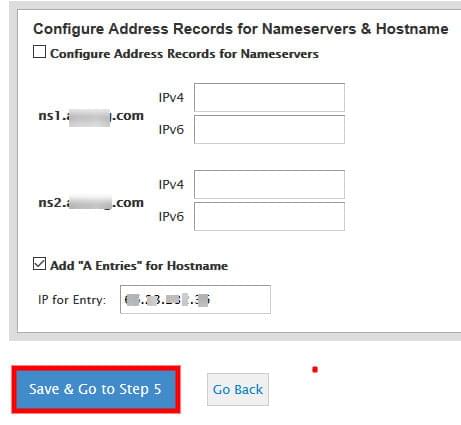
Enter the nameservers your server will use, such as ns1.yourdomain.com and ns2.yourdomain.com. You may first need to register these hostnames (child nameservers) at your domain registrar. Click Save & Go to Step 5.
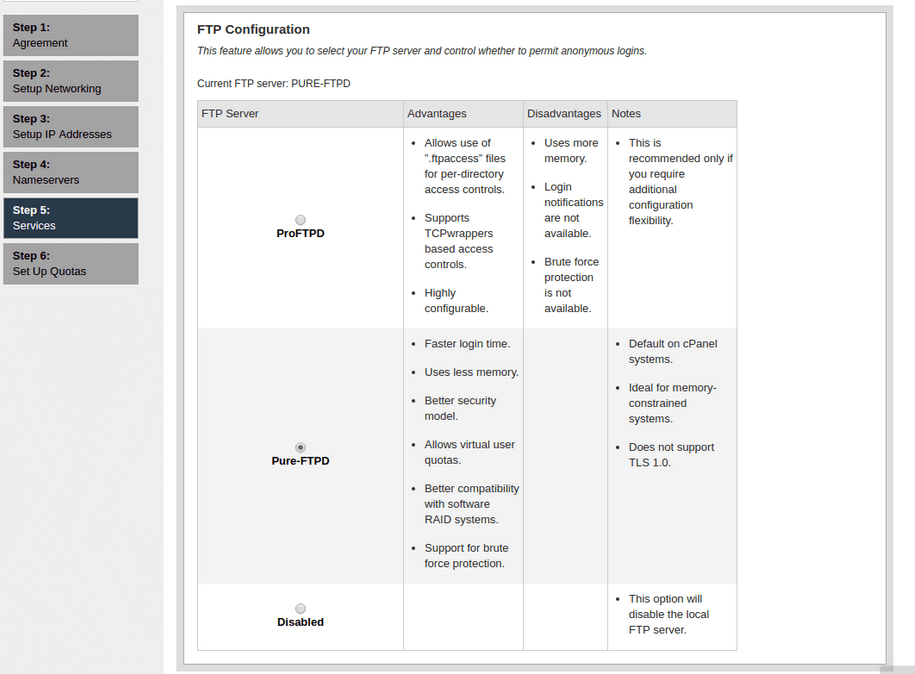
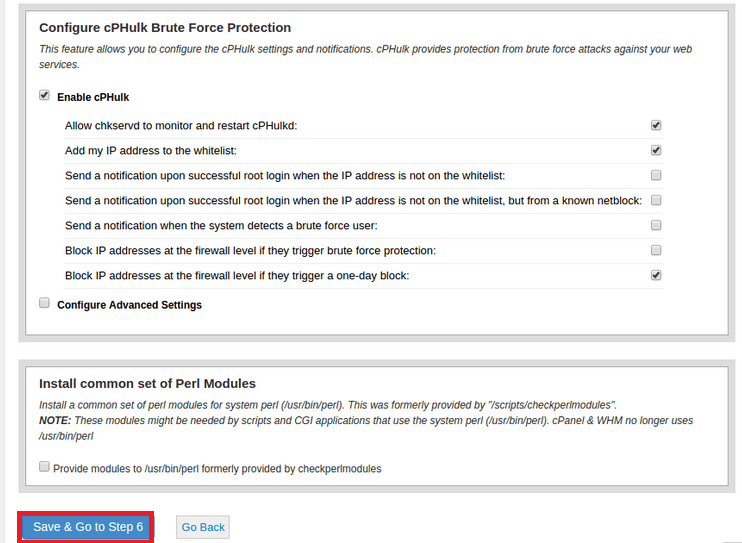
Services: choose the FTP server (Pure-FTPd is the default, or ProFTPD, or Disabled), the mail server (Dovecot is the default, or Disabled), and enable cPHulk Brute Force Protection to protect your services against brute-force attacks. Click Save & Go to Step 6.
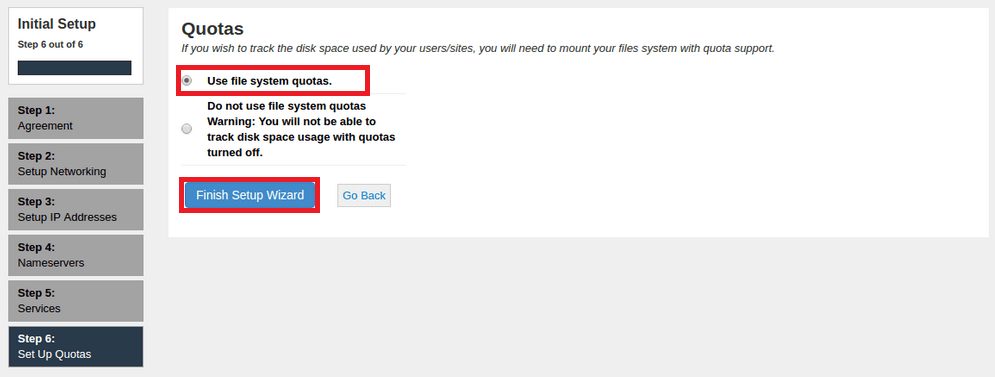
Quotas: the last step. Choose Use file system quotas, then click Finish Setup Wizard and start using your server.
Related service: Hyyat Host server management installs, configures, secures and monitors your cPanel/WHM server for you, with 24/7 support.