

WordPress lets you update plugins with one click. Sometimes the automatic update fails, because of wrong permissions or other server factors, and a failed update can leave your site stuck in maintenance mode. In that case, update the plugin manually over FTP.
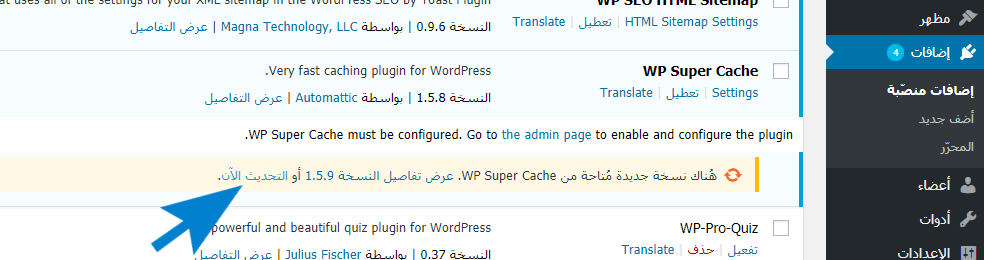
Update a plugin over FTP #
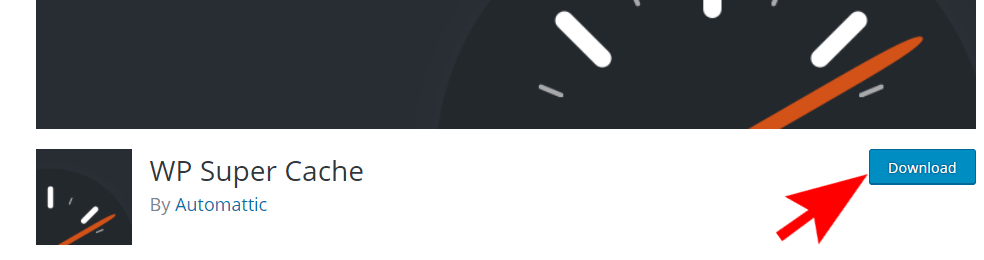
1. Download the latest version of the plugin from WordPress.org or from the developer’s website (for premium plugins, from your account on the developer’s site).
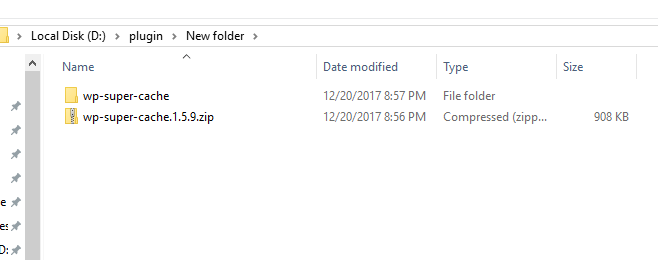
2. Plugins come as .zip files, so extract the file on your computer.
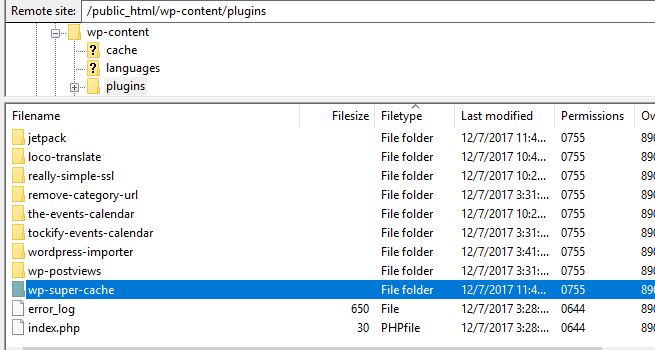
3. Connect to your site with an FTP program such as FileZilla, using your FTP host, username and password. You find these in the welcome email from Hyyat Host or in your client area.

4. Go to the wp-content/plugins folder. Each folder there is an installed plugin.
5. Back up the old plugin: rename its folder (for example add -old to the name) and download a copy to your computer. Then delete it from the site. In the Plugins page of your dashboard you will see a message that the plugin was deactivated.

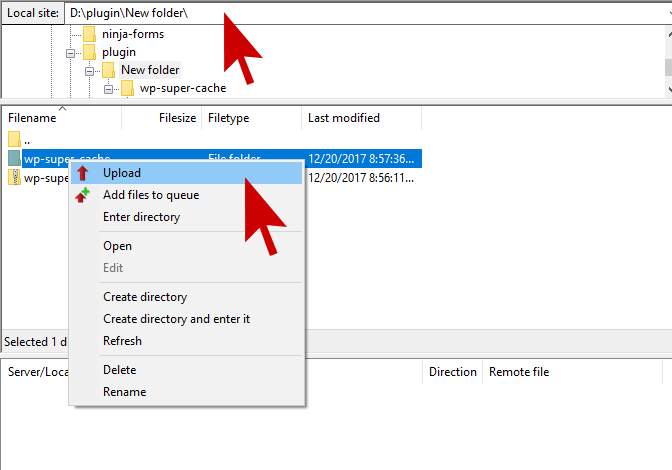
6. In FileZilla, under Local, find the new plugin folder you extracted, right-click it and choose Upload.
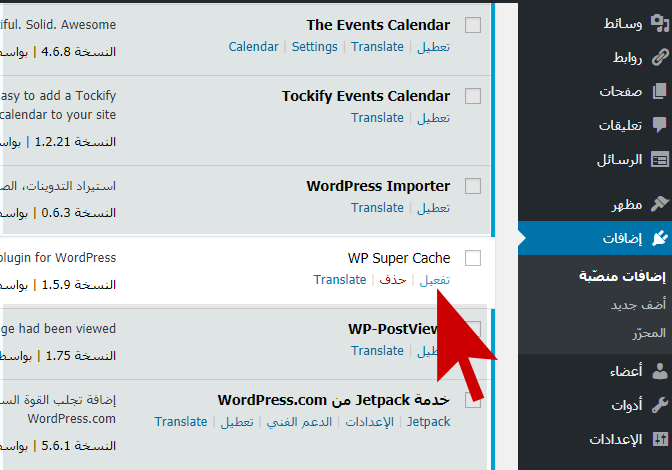
7. When the upload finishes, go to Plugins in your WordPress dashboard and activate the plugin.
See also how to install WordPress plugins.
Related service: Hyyat Host WordPress hosting with WordPress Toolkit, fast NVMe storage and 24/7 support.